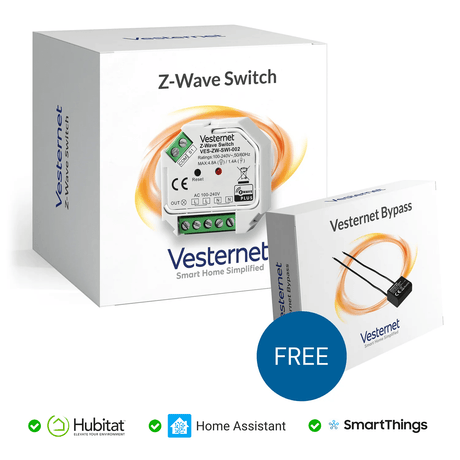
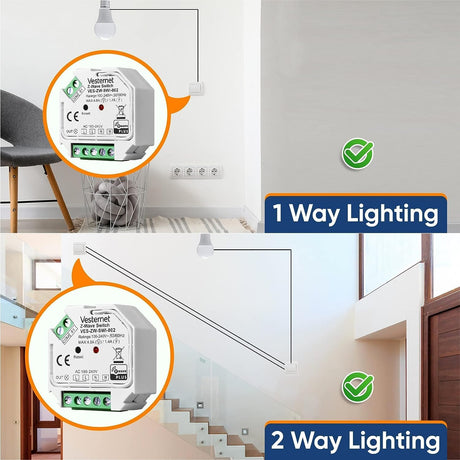
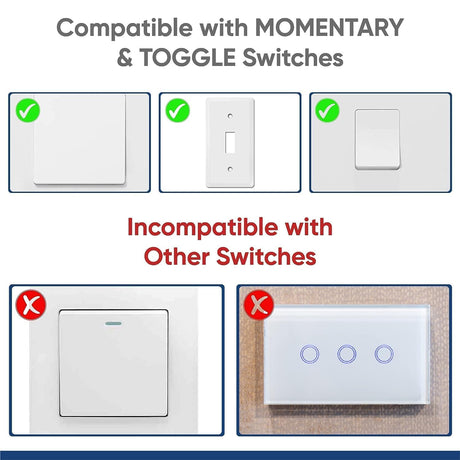
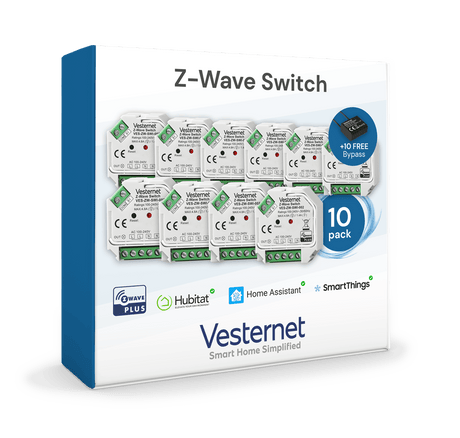
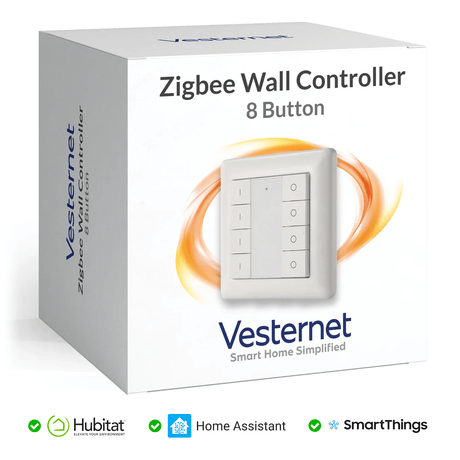
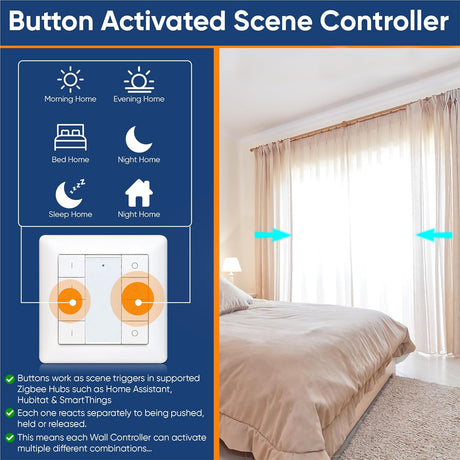
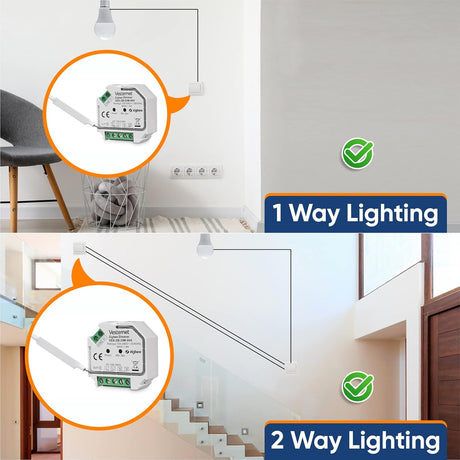
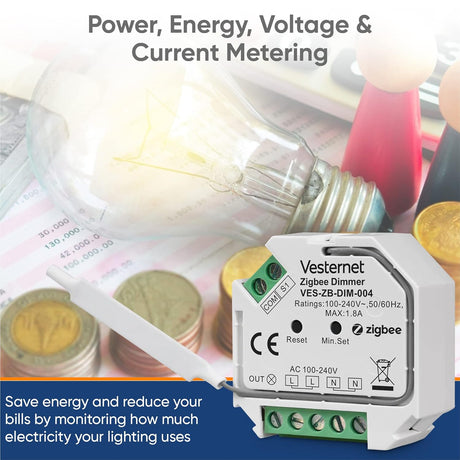
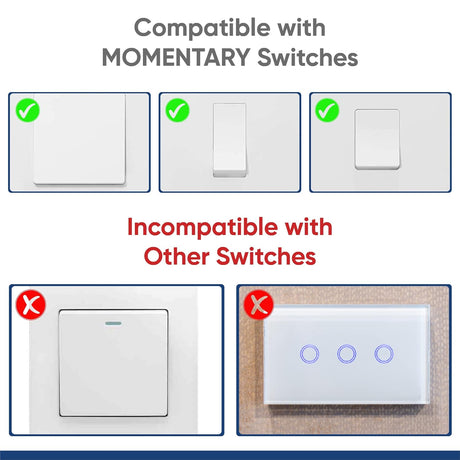
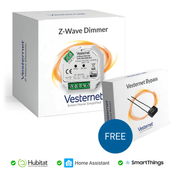
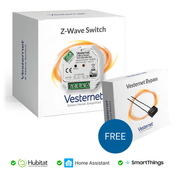
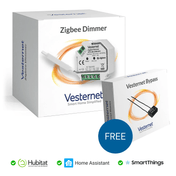
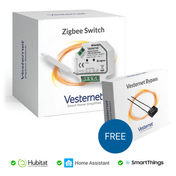
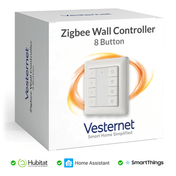
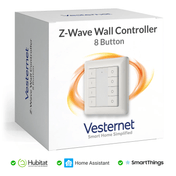
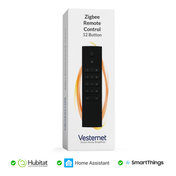
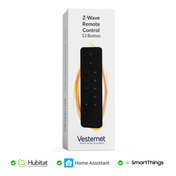
In short: Home Assistant is free software that you run on your own small computer. Add a Z-Wave USB stick, a Zigbee USB stick or both, and it becomes a full smart home controller. Vesternet own-brand Z-Wave and Zigbee devices are supported in Z-Wave JS, ZHA and Zigbee2MQTT.
Who this guide is for
- You have Home Assistant running, or are about to, and want to add Z-Wave or Zigbee devices.
- You're choosing between ZHA and Zigbee2MQTT.
- You own Vesternet devices and want to know how they are supported in Home Assistant.
What you need
Home Assistant is software, not a box with radios inside. Most of the hardware it runs on has no Z-Wave or Zigbee radio, so you add each one as a USB stick.
- A machine running Home AssistantA dedicated Home Assistant box, a Raspberry Pi or a small PC. It stays on all the time. Home Assistant OS is the simplest way to install it.
- A USB stick for each radioA Z-Wave stick for Z-Wave devices and a Zigbee stick for Zigbee devices.
- A USB extension lead for each stickA short USB 2.0 lead moves the stick away from the computer. Interference from the computer is the most common cause of poor range.
For Z-Wave, buy a stick made for the UK and Europe (868 MHz). A stick made for North America will not talk to EU devices. Home Assistant recommends a current 800 series stick. Zigbee uses the same frequency worldwide, so any supported Zigbee stick will do.
 Z-Wave USB stickRuns your 868 MHz Z-Wave network
 Zigbee USB stickThe coordinator for your Zigbee network
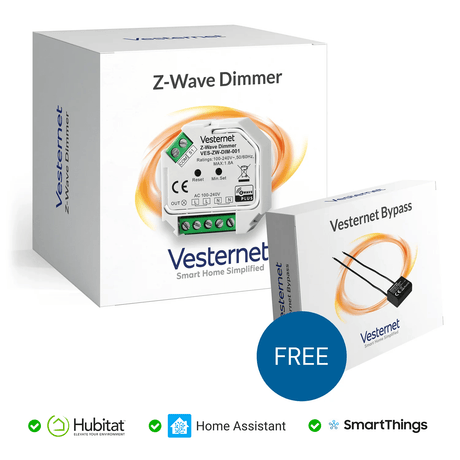
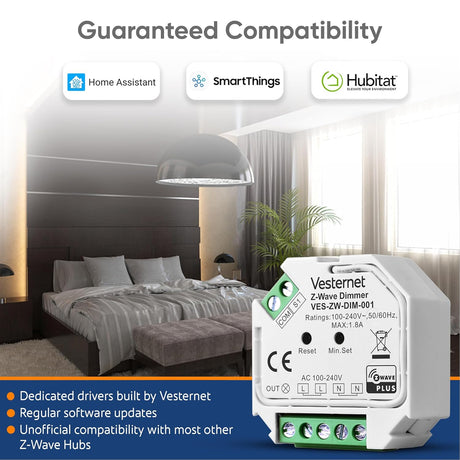
 In-wall modulesMains powered, so they also build the mesh
 SensorsBattery powered. Add these last
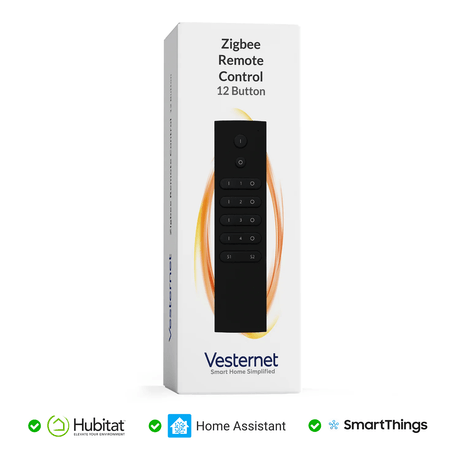
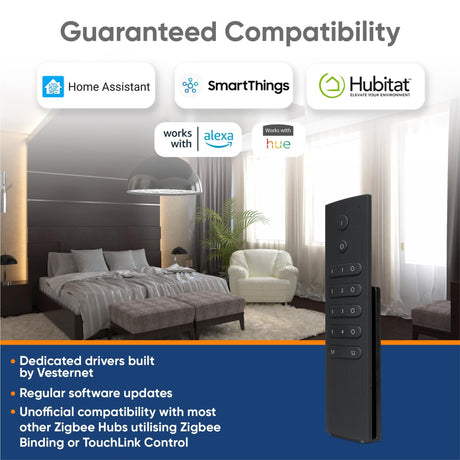
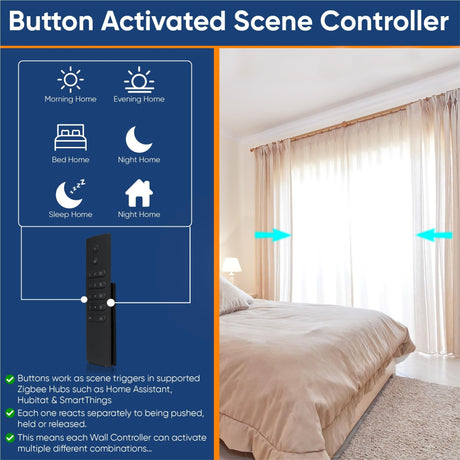
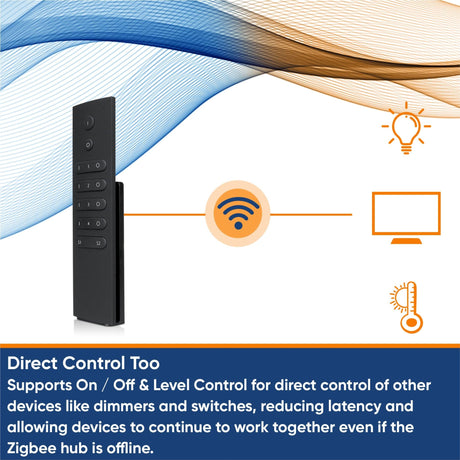
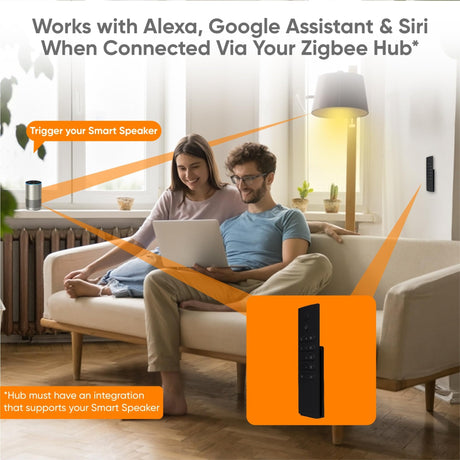
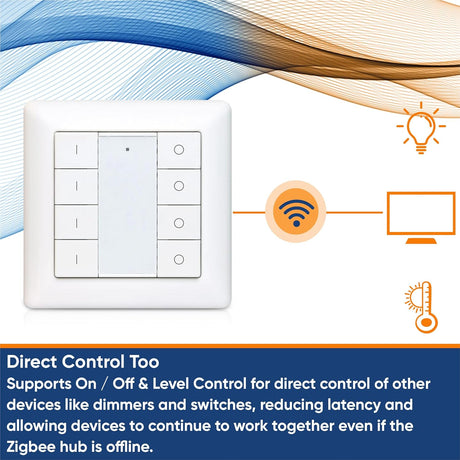
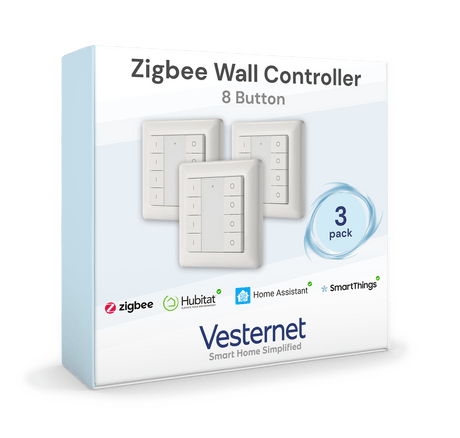
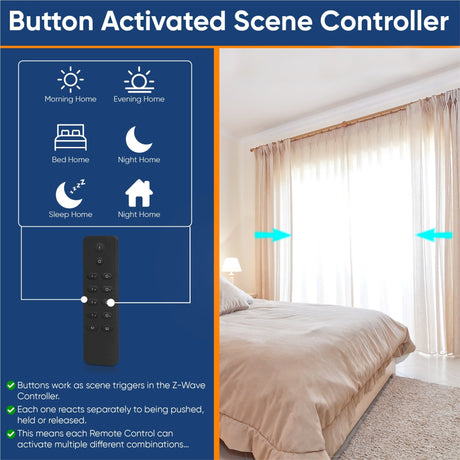
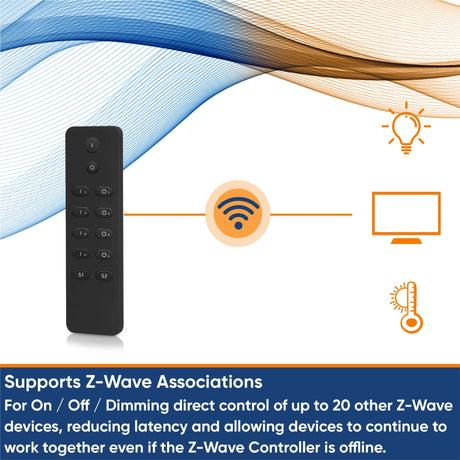
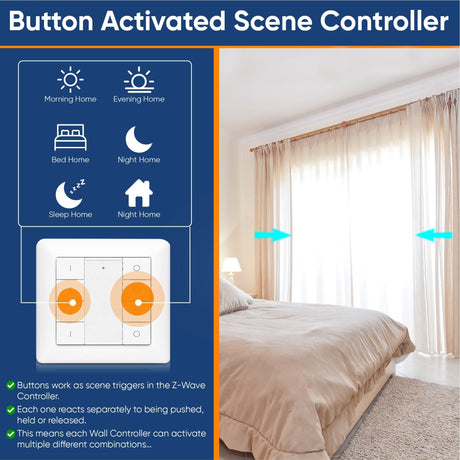
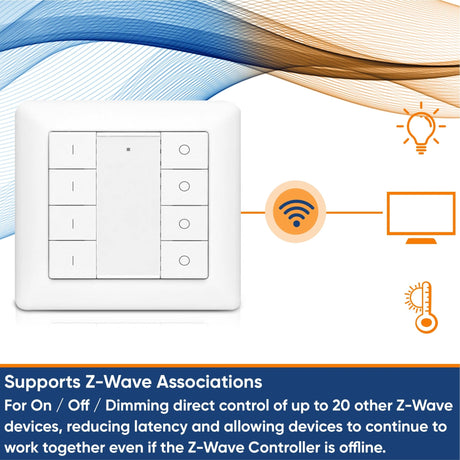
 Wall controllersButtons that trigger automations
Home Assistant changes every month and menus move. The menu paths below were checked in November 2026. If yours look different, search the Home Assistant settings for "Z-Wave" or "Zigbee". Recent versions call add-ons "apps".
How to set up Z-Wave JS in Home Assistant
Z-Wave JS is the software that runs your Z-Wave stick. In Home Assistant the integration is simply called Z-Wave.
- Plug in the stickUse the extension lead. On Home Assistant OS the stick is detected and you are offered a recommended installation. Accept it.
- Check the regionThe radio region follows your Home Assistant location by default. For the UK and Europe it should read Europe.
- Save the security keysHome Assistant creates the network keys for you. Copy them somewhere safe. You need them if you ever rebuild the system.
Adding a Z-Wave device
Adding a Z-Wave device is called inclusion. There are two ways to do it.
SmartStart (QR code)
- Leave the device switched off.
- Go to Settings, Connectivity, Z-Wave and choose Add device, then Scan QR code.
- Scan the code on the device or its box.
- Power the device on. It joins by itself, usually within a few minutes, sometimes up to ten.
Classic inclusion (button)
- Choose Add device. The stick starts listening.
- Press the button on the device as its manual describes (often once or three times).
- If asked for a PIN, type the five digits printed with the QR code.
- Wait for the interview to finish before using the device.
A few points that save time:
- S2 security. Home Assistant uses S2 whenever the device supports it. The PIN is the first five digits of the device's key. Keep the QR code or the key for every device.
- Long Range. If the device and the stick both support Z-Wave Long Range, the QR code route asks whether to add it as Long Range or as a normal mesh device.
- Used devices. A device that has been on another network must be excluded first. In the Z-Wave settings, open the options and use "Remove foreign device". Any Z-Wave controller can exclude any device.
- Battery devices. They sleep. Keep the device awake during the interview by pressing its button every few seconds.
The full process, including resets and failed devices, is in Adding and removing devices.
ZHA or Zigbee2MQTT: which should I use?
Home Assistant has two well-supported ways to run Zigbee. Both work with Vesternet Zigbee devices. Pick one. A Zigbee stick can only be used by one of them at a time.
| ZHA | Zigbee2MQTT | |
|---|---|---|
| What it is | The Zigbee integration built into Home Assistant | A separate open-source project that runs as an app beside Home Assistant |
| Set-up | Plug in the stick and follow the prompts | Install an MQTT broker and the Zigbee2MQTT app, then link them |
| Device support | Standard Zigbee devices work without extra files. Unusual devices need a "quirk" | A very large published list of supported devices, each with its own page |
| Best for | A first Zigbee network and anyone who wants the fewest moving parts | People who want more detail, more settings and their own dashboard for the Zigbee network |
If you're new to Home Assistant, start with ZHA. You can move later, but every device has to be paired again, so it's worth choosing before the network grows.
How to add Zigbee devices to Home Assistant
Adding a Zigbee device is called pairing. The steps are nearly the same in both systems.
With ZHA
- Go to Settings, Connectivity, Zigbee.
- Choose Add device.
- Put the device into pairing mode. For most devices that means resetting it as the manual describes.
- The device appears within a few seconds. Give it a name and a room.
With Zigbee2MQTT
- Open the Zigbee2MQTT page.
- Press Permit join. The network stays open for about four minutes.
- Put the device into pairing mode.
- Wait for the "successfully interviewed" message, then rename the device.
- Add mains-powered devices first, starting near the stick and working outwards. They become the routers that battery devices connect through.
- A device that was paired to another hub must be reset before it will join.
- Pair battery sensors close to where they will be used, so they pick a sensible router.
- Keep the stick away from Wi-Fi routers and USB 3 ports. Both can drown out Zigbee.
More on how the mesh forms is in our Zigbee guide and Building a reliable network.
Do Vesternet devices work with Home Assistant?
Yes. We worked with the open-source projects so that Vesternet own-brand devices are recognised without extra files.
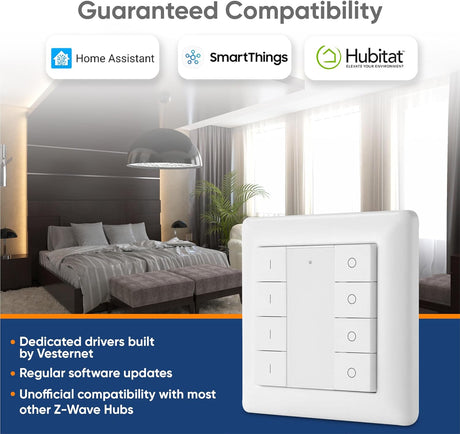
- Z-Wave JS. The device files for Vesternet Z-Wave modules, wall controllers, remotes and plugs are in the official Z-Wave JS device database.
- Zigbee2MQTT. Vesternet Zigbee devices are on the official supported devices list.
- ZHA. Vesternet Zigbee modules, wall controllers, remotes and sensors use standard Zigbee features and work in ZHA as they are.
Keep Home Assistant and its Z-Wave and Zigbee software up to date. A very old installation may not know a newer device.

Where the support pages are
Each Vesternet device has a support page for each system. It lists what the device reports, which settings are available and what was tested.
| You use | Devices covered | Support pages |
|---|---|---|
| Z-Wave JS | Z-Wave modules, wall controllers, remote, plug | Vesternet devices in Z-Wave JS |
| ZHA | Zigbee modules, wall controllers, remote, sensors | Vesternet devices in ZHA |
| Zigbee2MQTT | Zigbee modules, wall controllers, remote, sensors | Vesternet devices in Zigbee2MQTT |
| Another controller | Hubitat, SmartThings and others | Vesternet device support |
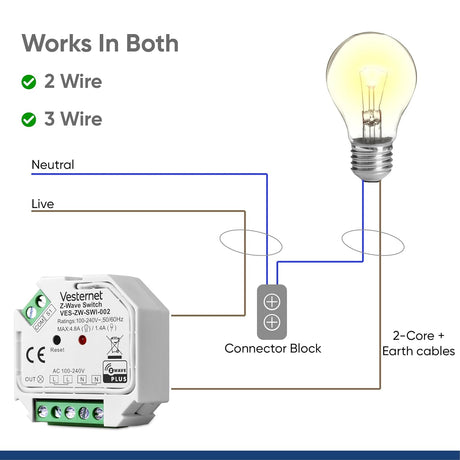
In-wall modules are mains wiring. They must be fitted by a competent person and the work must comply with local regulations. Read the support page and the manual before the module goes in the wall.
 Vesternet devicesModules, wall controllers, plugs and sensors
 Z-WaveEU 868 MHz devices for Z-Wave JS
 ZigbeeDevices for ZHA and Zigbee2MQTT
 Z-Wave sticksUSB controllers for Home Assistant
 Zigbee sticksUSB coordinators for Home Assistant
Back up before you go further
Home Assistant holds your devices, names and automations. The sticks hold the networks themselves. Protect both.
- Home Assistant backups. Turn on automatic backups in Settings, System, Backups, and keep copies somewhere other than the machine itself. Store the backup encryption key safely.
- Z-Wave. The Z-Wave settings page can download a backup of the stick's memory, which includes every paired device. Keep it with your security keys.
- Zigbee. ZHA backs up the Zigbee network automatically, and it is included in the Home Assistant backup. Zigbee2MQTT keeps its own data folder, which is saved with the app.
With these, a failed stick can be replaced without pairing everything again. The Z-Wave settings page and ZHA each have a "migrate" option for moving to a new stick. Zigbee2MQTT has its own procedure. See Upgrading or moving to a new hub.
Your first automation
An automation in Home Assistant has three parts: a trigger (when), optional conditions (and if) and actions (then do).
- WhenA motion sensor in the hall detects movement.
- And ifThe sun has set.
- Then doTurn the hall dimmer on at 40%, wait three minutes, then turn it off.
Go to Settings, Automations and scenes, and choose Create automation. Pick the sensor as the trigger and the dimmer as the action, then save and walk past the sensor. Start with one room and get it right before copying it to the next. Ideas for the next step are in Automations and scenes that work.
Common questions
Can I run Z-Wave and Zigbee at the same time?
Yes. Each has its own stick and its own network, and devices from both can be used in the same automation.
Do I need the internet?
No. Z-Wave and Zigbee devices are controlled locally. The internet is used for updates and for remote access.
Is Home Assistant right for me?
It is the most flexible controller and also the one that asks most of you. If you'd prefer a ready-made hub, see Choosing a smart home controller, which compares it with Hubitat, Homey Pro, the Aeotec Smart Home Hub and Fibaro Home Center.
Where do I check a device before buying?
Use our compatibility guide, and for Z-Wave see our Z-Wave guide for what the labels mean.