The smart home revolution has sparked unprecedented interest in DIY home automation, as homeowners discover that commercial solutions often come with hefty price tags and rigid limitations. This growing maker culture movement has democratised home automation, making sophisticated control systems accessible through affordable microcontroller platforms. The rise of online communities, detailed tutorials, and readily available components has transformed what was once the domain of professional installers into an exciting hobby for tech enthusiasts.
Arduino home automation and raspberry pi projects home automation offer compelling alternatives to expensive commercial systems, delivering complete customisation control alongside significant cost savings. These platforms provide invaluable learning opportunities whilst offering unparalleled integration flexibility with existing smart home infrastructure. The benefits extend beyond mere functionality - builders gain deep understanding of their systems, enabling precise customisation that perfectly matches their unique requirements and preferences.
This comprehensive guide covers everything from fundamental hardware understanding through advanced integration techniques, ensuring hands-on learning that leads to practical, reliable implementations. Whether you're planning your first temperature sensor or designing a whole-house automation controller, you'll discover proven methods for creating custom automation projects that rival commercial alternatives whilst maintaining complete control over every component and feature.
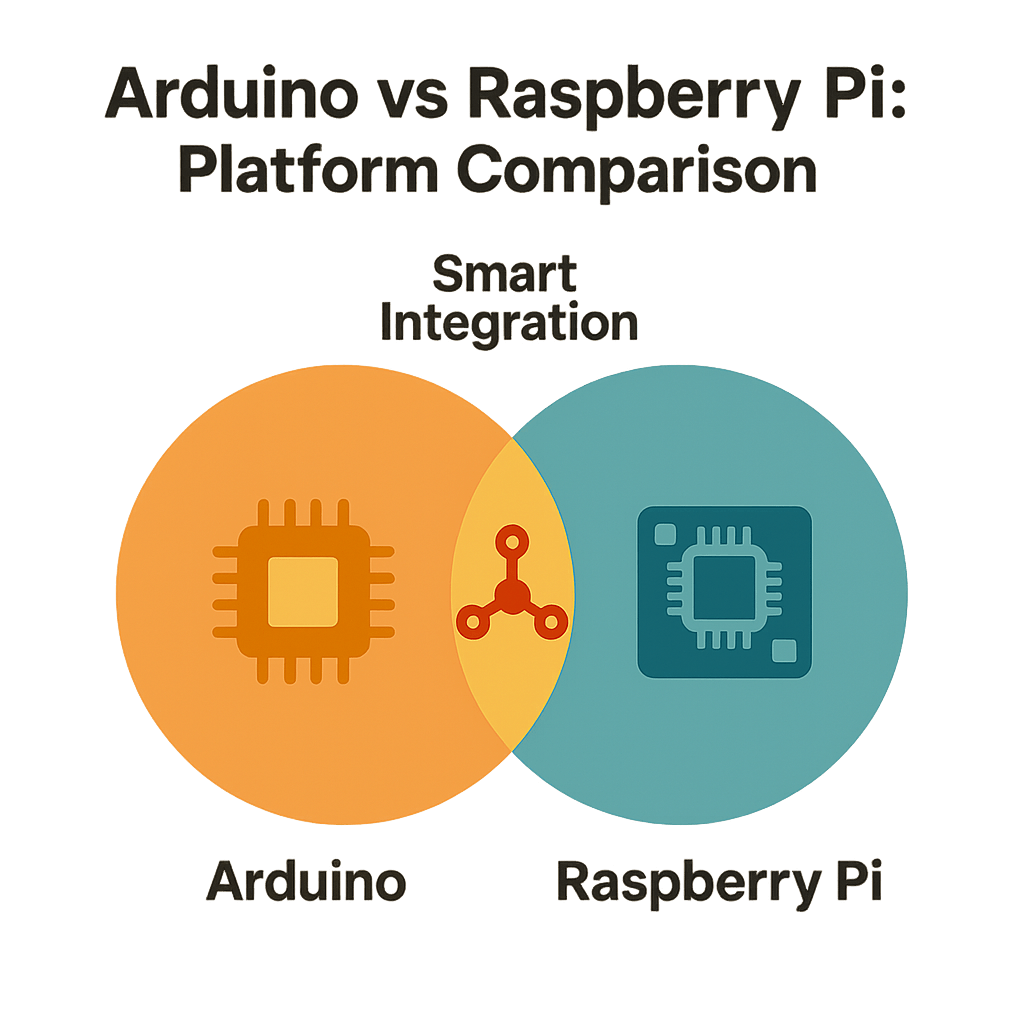
Understanding DIY Automation Hardware: Arduino vs Raspberry Pi
Choosing between Arduino and Raspberry Pi platforms forms the foundation of successful DIY home automation projects. Arduino excels in real-time control applications, offering reliable microcontroller performance with minimal power consumption and excellent interfacing with sensors, relays, and actuators. Raspberry Pi provides full computer capabilities, supporting complex processing tasks, web interfaces, and integration with multiple communication protocols simultaneously.
Arduino advantages for home automation:
- Excellent real-time performance for time-critical sensor monitoring
- Low power consumption ideal for battery-powered remote sensors
- Simple programming with Arduino IDE using C/C++ language
- Robust operation in harsh environmental conditions
Raspberry Pi shines in applications requiring centralised control, data logging, and user interface development. Its Linux-based operating system supports popular home automation software like Home Assistant, whilst multiple GPIO pins enable extensive hardware integration. Consider Arduino for dedicated sensor nodes and actuator control, whilst Raspberry Pi serves as the intelligent hub coordinating multiple devices and providing sophisticated automation logic.
Essential Components and Tools for DIY Smart Home Projects
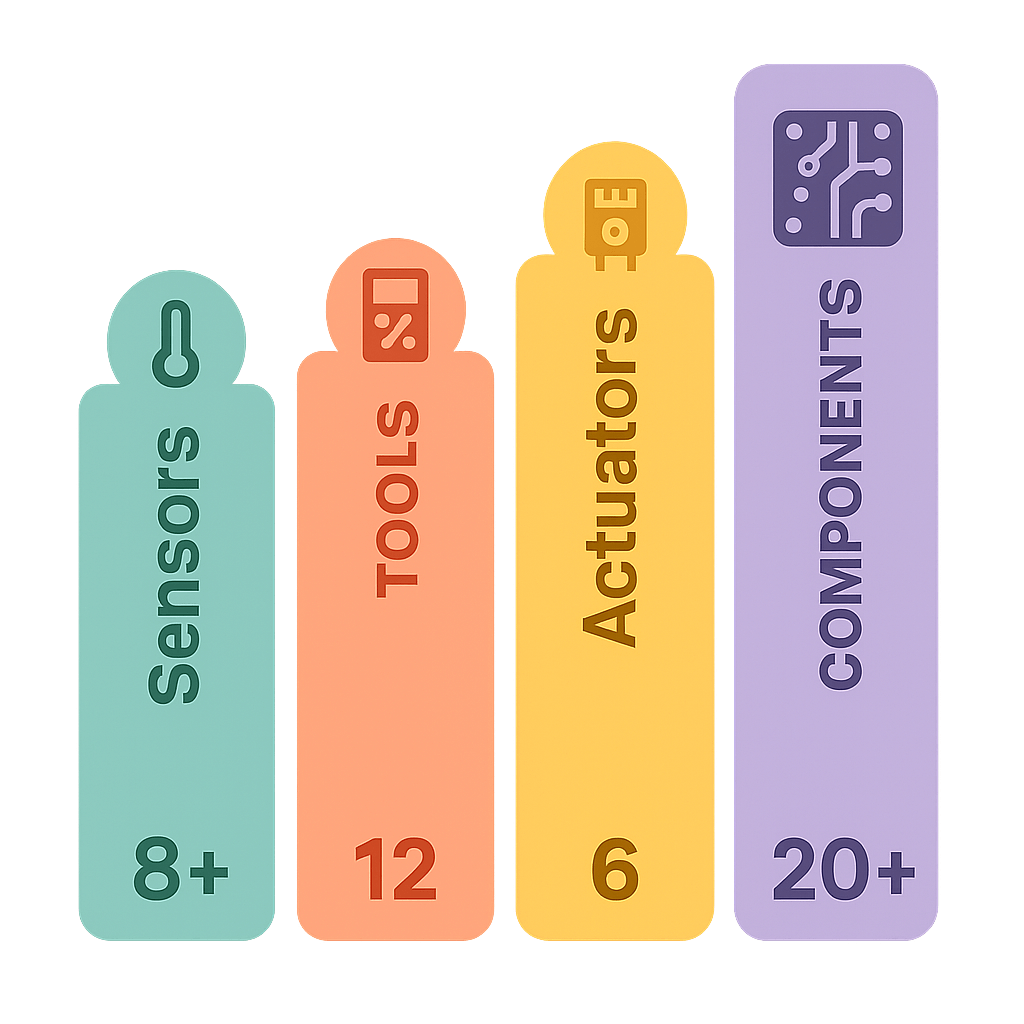
Building reliable custom automation projects requires quality components and proper tools for assembly, testing, and maintenance. Essential sensors include temperature/humidity monitors, motion detectors, door/window contacts, and light sensors, whilst actuators encompass relays, servo motors, LED strips, and solenoid valves. Breadboards, jumper wires, resistors, and capacitors form the foundation of circuit construction, alongside specialised connectors for permanent installations.
Core toolkit for DIY automation projects:
- Digital multimeter for voltage, current, and continuity testing
- Soldering iron with flux and solder for permanent connections
- Wire strippers, crimping tools, and electrical tape
- Oscilloscope for debugging complex timing issues
Software tools prove equally crucial, including Arduino IDE for microcontroller programming, Python development environments for Raspberry Pi projects, and circuit simulation software for testing designs before hardware construction. Invest in quality components from reputable suppliers - cheaper alternatives often fail prematurely, causing frustrating debugging sessions and potential safety hazards in mains-powered applications.
Planning Your First DIY Automation Project
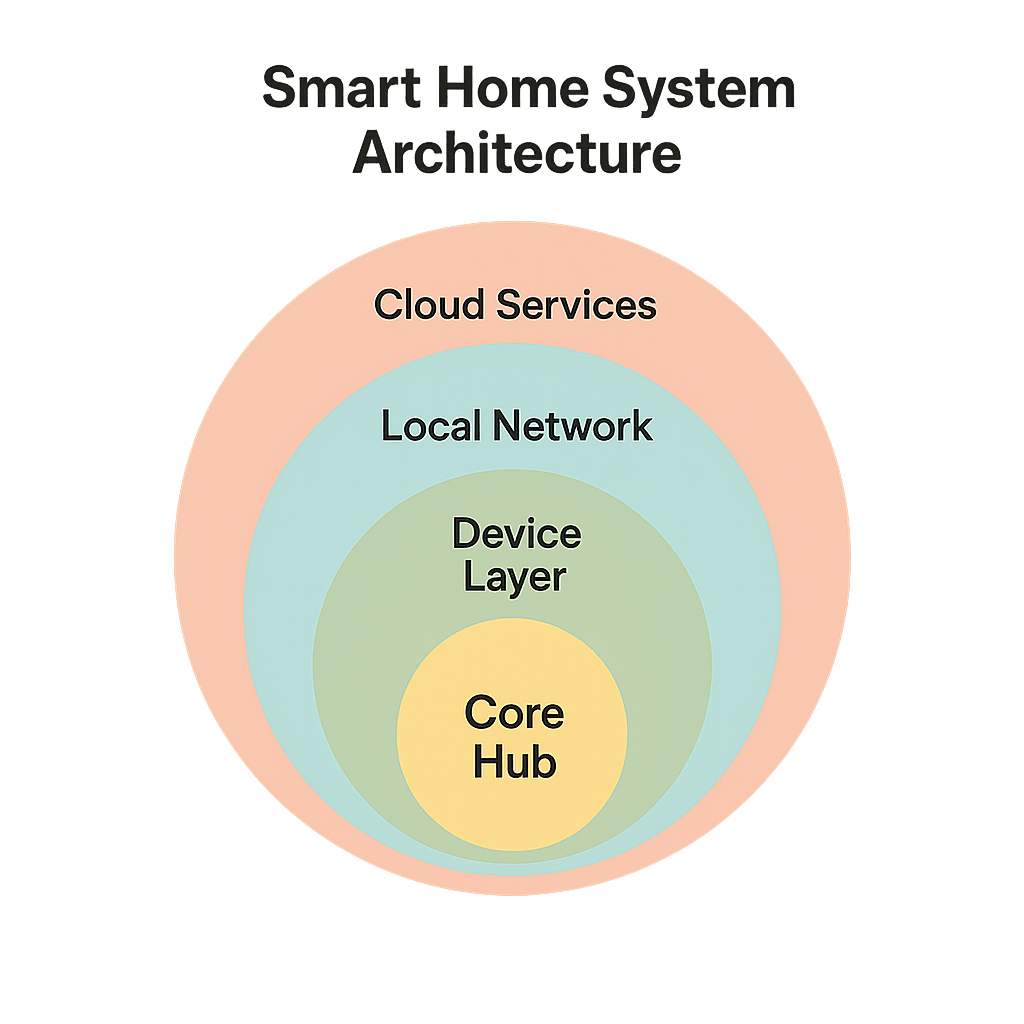
Successful arduino home automation begins with careful project planning, identifying specific automation opportunities that provide genuine value whilst remaining within your technical capabilities. Start by observing daily routines and noting repetitive tasks - lighting control, temperature adjustment, security monitoring, and energy management offer excellent entry points. Sketch system architecture showing sensors, controllers, actuators, and communication pathways before purchasing any components.
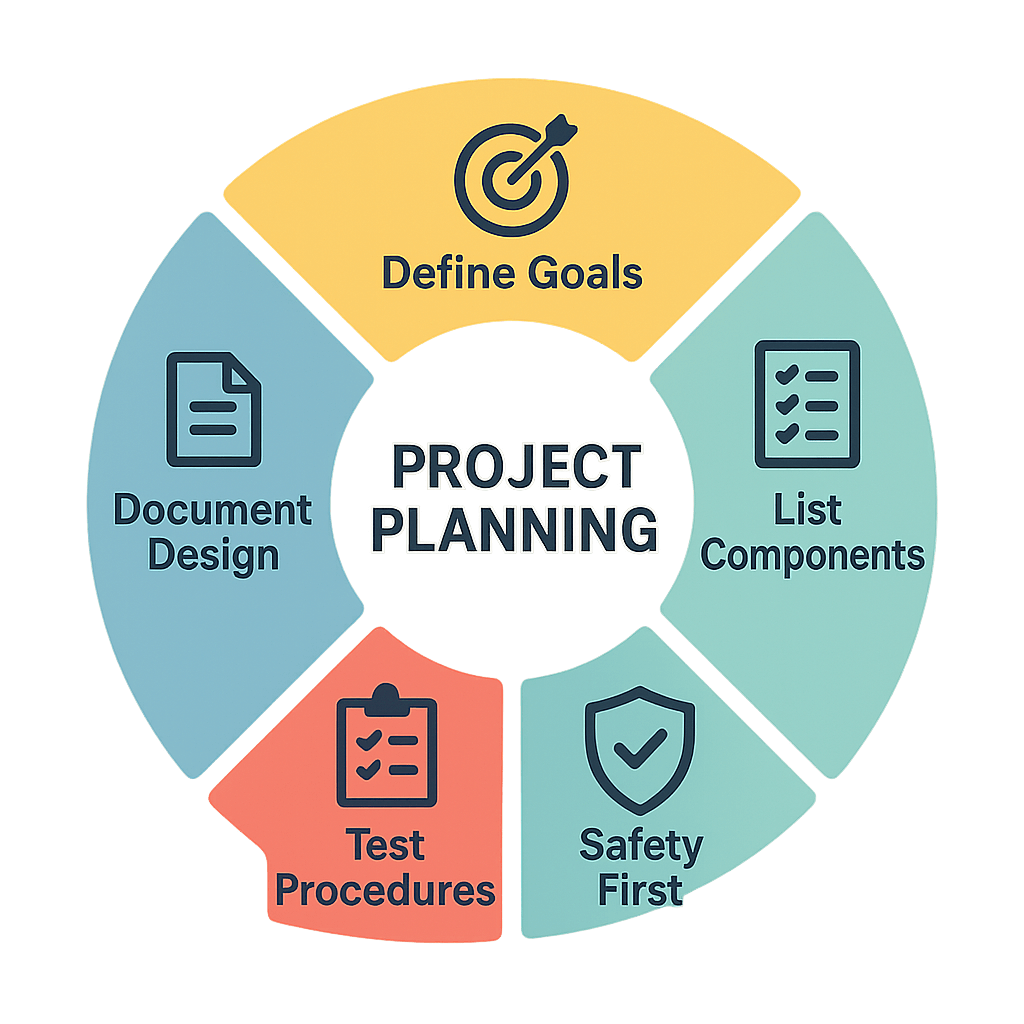
Project planning essentials:
- Define clear objectives and success criteria for your automation goals
- Create detailed component lists with quantities, specifications, and sources
- Establish safety protocols for mains electrical work and installation
- Plan testing procedures and fallback options for system failures
Safety considerations become paramount when dealing with mains electricity - always use appropriate isolation procedures, install suitable protection devices, and consider professional electrical inspection for permanent installations. Document your designs thoroughly, including wiring diagrams, component specifications, and configuration settings, creating valuable reference material for future modifications and troubleshooting.
Getting Started: Basic Arduino Automation Projects
Arduino provides an ideal platform for learning fundamental automation concepts through hands-on projects that deliver immediate, tangible results. Begin with automated lighting control using photoresistors and relays - this project teaches sensor interfacing, threshold detection, and actuator control whilst providing practical utility. Temperature monitoring expands these skills, incorporating digital sensors, data logging, and conditional logic for heating/cooling control.
Beginner-friendly Arduino automation projects:
- Light-activated LED strips with adjustable sensitivity settings
- Temperature-controlled fan with hysteresis to prevent rapid cycling
- Motion-activated security lights with customisable timing
- Automated plant watering system with soil moisture sensing
These projects introduce essential programming concepts including sensor reading, conditional statements, timing functions, and output control. Start with breadboard prototypes for rapid testing and modification, then progress to permanent installations using stripboard or custom PCBs. Each project builds upon previous learning whilst adding new capabilities, creating a solid foundation for more complex custom automation projects.
Raspberry Pi Smart Home Controller Setup
Raspberry pi projects home automation excel when configured as centralised control hubs, coordinating multiple devices whilst providing sophisticated user interfaces and data management capabilities. Begin with a fresh Raspberry Pi OS installation, then install home automation software like Home Assistant or OpenHAB for comprehensive device management and rule creation. These platforms support hundreds of device integrations, creating powerful coordination between DIY projects and commercial smart plug products.
Raspberry Pi controller setup steps:
- Configure static IP addressing and SSH access for remote management
- Install home automation software with appropriate database backends
- Create web-based dashboards for device monitoring and control
- Implement automated backups and system monitoring
The GPIO pins enable direct connection to sensors and actuators, whilst USB ports accommodate additional interfaces like USB controllers for commercial device integration. Configure automatic startup services ensuring your automation continues operating after power outages, and implement logging systems for troubleshooting and performance optimisation. This creates a robust foundation for expanding your smart home capabilities over time.
Advanced Integration: Connecting DIY Projects to Smart Home Protocols
Professional smart home protocols like Z-Wave and Zigbee offer significant advantages when integrated with DIY home automation projects, providing reliable mesh networking, standardised device interfaces, and commercial-grade security features. USB controllers enable Raspberry Pi systems to communicate with protocol-based devices, whilst Arduino projects can interface through serial communication or purpose-built gateway modules.
Integration benefits for hybrid systems:
- Mesh networking extends range and improves reliability across large properties
- Standardised protocols ensure compatibility with diverse device manufacturers
- Commercial security features protect against unauthorised access
- Future expansion options through growing ecosystem compatibility
Hardware integration requires careful consideration of communication interfaces, power requirements, and mounting solutions for protocol controllers. Many DIY builders create custom enclosures housing Raspberry Pi controllers alongside gateway interfaces, providing centralised management whilst maintaining the flexibility to add custom sensors and actuators. This approach combines the best aspects of DIY creativity with commercial reliability and standards compliance.
Troubleshooting Common DIY Automation Challenges
Even well-designed custom automation projects encounter challenges requiring systematic troubleshooting approaches. Connectivity issues often stem from power supply problems, loose connections, or radio frequency interference, whilst sensor calibration drift affects measurement accuracy over time. Develop structured debugging methodologies using multimeters, oscilloscopes, and software logging to isolate problems efficiently.
Common troubleshooting techniques:
- Check power supply voltages and current capabilities under load
- Verify connection integrity with continuity and resistance measurements
- Monitor serial communication for protocol errors and timing issues
- Test individual components in isolation to identify faulty hardware
Software debugging proves equally important, particularly in complex raspberry pi projects home automation involving multiple processes and communication channels. Implement comprehensive logging systems capturing sensor readings, communication events, and error conditions. Create test modes enabling manual control of outputs whilst monitoring system responses, helping identify whether problems originate from hardware interfaces or software logic.
Scaling and Future-Proofing Your DIY Smart Home System
Successful DIY automation systems grow organically, adding capabilities whilst maintaining reliability and ease of maintenance. Plan expansion paths considering power distribution, communication bandwidth, and processing requirements as device counts increase. Implement modular architectures using standardised interfaces, enabling individual component upgrades without requiring complete system redesigns.
System scaling considerations:
- Design distributed architectures preventing single points of failure
- Implement security best practices including encryption and authentication
- Plan upgrade paths for controllers as processing demands increase
- Document configurations and backup procedures for disaster recovery
Security becomes increasingly important as systems expand, requiring secure communication protocols, regular software updates, and network isolation techniques. Consider implementing version control for configuration files and custom code, enabling rollback capabilities when updates cause unexpected issues. This disciplined approach ensures your custom automation projects remain maintainable and secure as they evolve to meet changing requirements. Professional-grade switches can complement your DIY setup with reliable commercial devices.
Conclusion
DIY home automation through Arduino and Raspberry Pi platforms offers unprecedented opportunities for creativity, learning, and cost-effective smart home implementation. These projects provide deep technical understanding whilst delivering customised solutions perfectly matched to individual requirements. The skills gained through hands-on hardware integration and controller setup create lasting value, enabling continuous system enhancement and adaptation as technology advances.
Success comes through starting small with basic projects, gradually building complexity as confidence and expertise develop. The supportive maker community provides invaluable resources for troubleshooting, inspiration, and collaborative learning. Begin with simple sensor projects, progress through controller setup, and gradually incorporate advanced integration techniques to create sophisticated custom automation projects rivalling commercial alternatives.
Ready to enhance your DIY smart home projects with professional-grade components? Explore Vesternet's specialised collections of smart controllers, protocol hubs, and integration devices that can seamlessly complement your custom automation projects, with expert guidance available to help bridge DIY creativity with commercial reliability.