Modern smart home lighting installation presents a transformative opportunity to enhance convenience, energy efficiency, and home value, but navigating the complexities of wiring, automation protocols, and device integration can overwhelm homeowners. The landscape of smart light solutions has evolved dramatically, offering unprecedented control over ambiance, energy consumption, and automated scheduling that can significantly improve daily living experiences.
This comprehensive guide provides a step-by-step approach to installing smart home lighting systems, covering everything from basic wiring principles to advanced automation setup, ensuring safe implementation and optimal performance. Whether you're considering a complete home automation setup or starting with a single room, understanding the fundamental principles of smart wiring and device integration is crucial for achieving professional results.
Readers will gain practical knowledge of planning requirements, installation processes, technology selection, and troubleshooting techniques needed to create a professional-grade smart lighting ecosystem. This professional installation guidance will empower you to make informed decisions about your lighting control systems whilst maintaining the highest safety standards throughout the process.
Understanding Smart Home Lighting Fundamentals
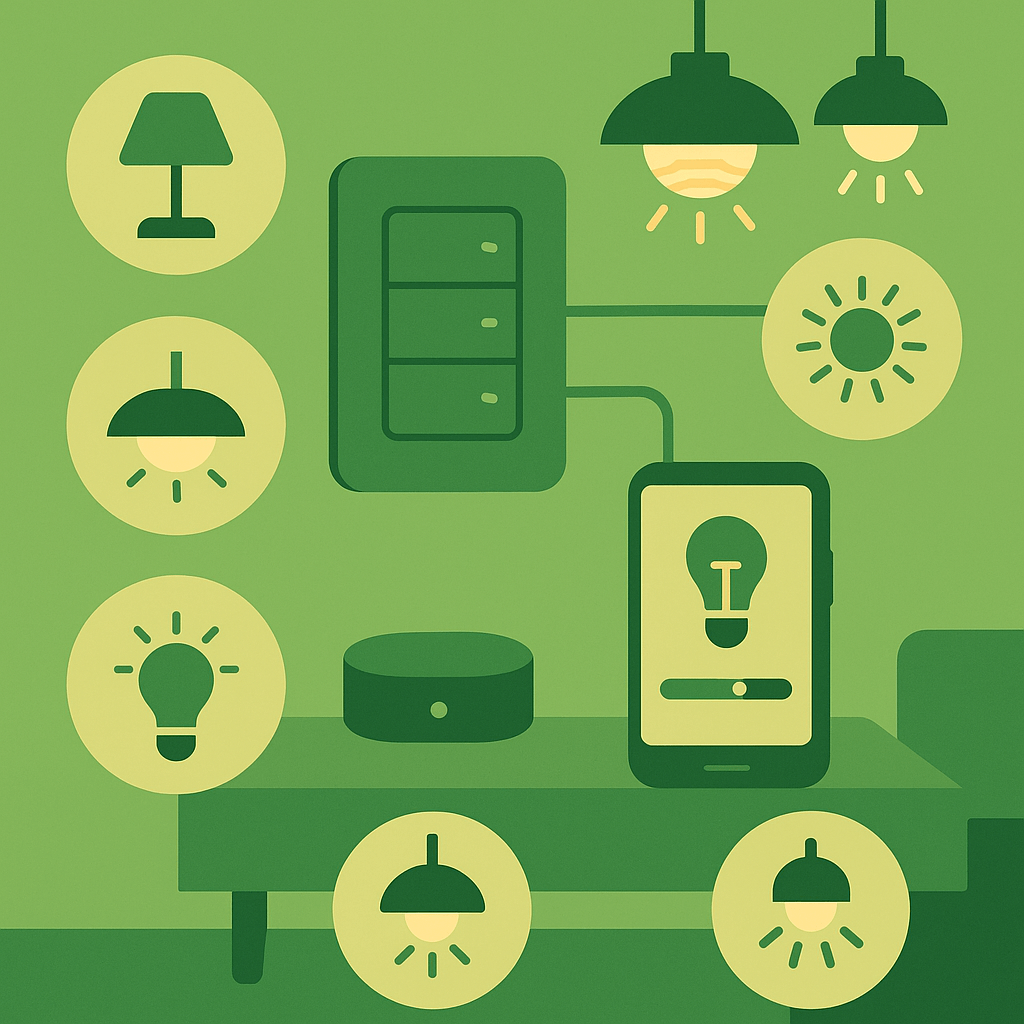
Smart lighting systems represent a sophisticated evolution beyond traditional electrical switches, utilising wireless communication protocols to create interconnected networks that respond to user commands, schedules, and environmental conditions. These lighting control systems operate through various wireless protocols, each offering distinct advantages for different installation scenarios and user requirements.
Primary Communication Protocols
- Zigbee - Low-power mesh networking ideal for battery-operated devices and extensive coverage
- Z-Wave - Reliable mesh protocol with excellent interoperability across manufacturers
- Wi-Fi - Direct router connection offering high bandwidth but increased power consumption
- Matter - Emerging universal standard enabling cross-platform device compatibility

The integration of smart switches and dimmers with existing electrical infrastructure requires careful consideration of load compatibility, neutral wire availability, and network coverage requirements. Unlike traditional switches that simply interrupt power flow, smart devices continuously communicate with central controllers whilst maintaining electrical safety standards and providing advanced features like dimming curves, energy monitoring, and scheduling capabilities.
Planning Your Smart Lighting Installation
Successful smart home automation installation begins with comprehensive planning that addresses electrical capacity, device compatibility, and user requirements. This planning phase determines the scope of your project, identifies potential challenges, and ensures that your chosen smart light solutions align with your home's electrical infrastructure and long-term automation goals.
Pre-installation assessment involves evaluating your current electrical setup, including switch box depth, neutral wire availability, and circuit loading. Many older homes lack neutral wires at switch locations, which can limit device compatibility and require additional electrical work to achieve full smart wiring functionality.
Essential Planning Considerations
- Electrical load calculations for each circuit to ensure safe operation
- Neutral wire verification at all intended smart switch locations
- Network coverage assessment for reliable wireless communication
- Future expansion planning to accommodate additional devices
Creating Your Lighting Automation Blueprint
Developing a detailed installation plan helps identify the optimal sequence for device installation, potential wiring modifications, and integration priorities. Consider starting with frequently used areas like living rooms and bedrooms, then expanding to secondary spaces as you become more comfortable with the technology and installation processes.

Essential Tools and Safety Preparations
Professional-grade smart home automation installation requires proper tools and rigorous safety protocols to ensure successful implementation and long-term reliability. The complexity of smart wiring demands more sophisticated testing equipment than traditional electrical work, including network analysers and protocol-specific diagnostic tools.
Electrical safety must remain the primary concern throughout any lighting control systems installation. Smart devices introduce additional complexity through their electronic components and wireless communication requirements, making proper testing and verification procedures essential for safe operation.
Required Installation Tools
- Non-contact voltage tester and multimeter for electrical verification
- Wire strippers, screwdrivers, and electrical tape for connections
- Network scanner or smartphone app for wireless signal assessment
- Headlamp and flashlight for working in electrical boxes
Before beginning any electrical work, verify that power is completely disconnected at the circuit breaker and use a non-contact voltage tester to confirm the absence of electrical current. Smart light solutions often require more complex wiring connections than traditional switches, making careful preparation and methodical installation practices essential for achieving professional results.
Smart Switch and Dimmer Installation Guide
Installing smart switches and dimmers requires understanding both electrical principles and wireless networking concepts. These devices replace traditional wall switches whilst adding communication capabilities, advanced dimming functions, and integration with broader home automation systems. The installation process varies depending on your home's existing smart wiring configuration and the specific device requirements.
Pre-Installation Electrical Verification
- Turn off power at the circuit breaker and verify using a voltage tester
- Remove existing switch and identify line, load, and neutral wires
- Test wire connections with a multimeter to confirm proper identification
- Verify adequate space in the electrical box for the smart device
Most smart switches require a neutral wire connection to power their internal electronics, even when the connected lights are turned off. If your electrical box lacks a neutral wire, you may need to run new cable or consider smart switches designed for two-wire configurations, though these typically offer reduced functionality compared to neutral-wire devices.
Wiring Configuration Process
Connect the line wire (typically black) to the designated line terminal, the load wire (controlling the light fixture) to the load terminal, and the neutral wire (typically white) to the neutral connection. Ground wires must be properly connected to ensure electrical safety and device protection. Follow manufacturer-specific wiring diagrams, as terminal locations and colour coding can vary between different smart light solutions.

After completing wiring connections, carefully fold wires into the electrical box and secure the device to the wall. Restore power at the circuit breaker and test basic operation before proceeding with network configuration and advanced feature setup.
Gateway Hub Setup and Network Configuration
Central gateway hubs serve as the communication bridge between your smart devices and internet connectivity, enabling remote access, voice control, and integration with other home automation setup components. These hubs translate between different wireless protocols and provide the processing power needed for advanced automation rules and scheduling.
Network configuration involves establishing secure wireless connections between your lighting control systems and the central hub, ensuring reliable communication throughout your home. Proper network setup is crucial for consistent device responsiveness and prevents connectivity issues that can frustrate users and compromise system reliability.
Hub Configuration Steps
- Connect the hub to your router using an Ethernet cable for optimal performance
- Download the manufacturer's mobile app and create a user account
- Follow the guided setup process to configure wireless network settings
- Add devices individually, allowing proper pairing and network integration
Device pairing typically involves putting the smart switch into pairing mode and using the hub's discovery function to establish communication. Some devices require proximity to the hub during initial pairing, while others can be configured at their installation location. Ensure each device receives strong wireless signal strength to maintain reliable operation and prevent communication dropouts.
Advanced Automation Programming and Scene Creation
Advanced automation programming transforms basic smart light solutions into comprehensive lighting control systems that respond intelligently to user preferences, schedules, and environmental conditions. Scene creation allows you to establish preset lighting configurations that can be activated with a single command, creating the perfect ambiance for different activities and times of day.
Automated Scheduling Features
- Sunrise and sunset scheduling for natural circadian rhythm support
- Custom time-based schedules for different days and seasonal variations
- Motion sensor integration for automatic activation and energy savings
- Vacation modes that simulate occupancy patterns for security purposes
Scene programming enables sophisticated lighting combinations that consider colour temperature, brightness levels, and multiple fixture coordination. Popular scene configurations include "Movie Night" with dimmed ambient lighting, "Dinner Party" with warm accent lighting, and "Morning Routine" with gradually increasing brightness that helps with natural awakening.
Voice Control Integration
Modern smart home automation installation often includes voice control capabilities through platforms like Amazon Alexa, Google Assistant, or Apple HomeKit. These integrations allow natural language commands for individual lights, scenes, and automation routines, making daily interaction more intuitive and convenient for all household members.
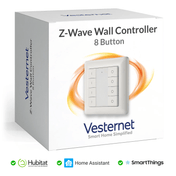
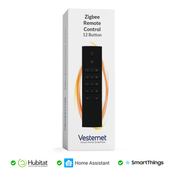
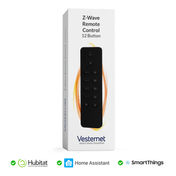
Wall controllers and wireless remotes provide additional control options for users who prefer physical interfaces or want backup control methods when network connectivity experiences issues. These devices can be programmed to control individual lights, scenes, or complex automation sequences.
Troubleshooting Common Installation Issues
Smart wiring installations often present unique challenges that require systematic troubleshooting approaches to identify and resolve connectivity, performance, and integration issues. Understanding common failure points and their solutions helps ensure reliable long-term operation of your lighting control systems.
Connectivity problems frequently stem from wireless signal interference, inadequate network coverage, or improper device pairing procedures. These issues can manifest as delayed responses, intermittent operation, or complete device disconnection from the automation network.
Common Installation Challenges
- Weak wireless signal - Resolve by repositioning hubs, adding signal repeaters, or upgrading to mesh-capable devices
- Device pairing failures - Reset devices to factory settings and repeat pairing process closer to the hub
- Incompatible load types - Verify smart switches support LED, CFL, or other connected load types
- Electrical interference - Identify and relocate sources of electromagnetic interference affecting wireless communication

Performance optimization may require adjusting wireless channel settings, updating device firmware, or reconfiguring automation rules that conflict with each other. Regular system maintenance, including software updates and battery replacement for wireless devices, helps prevent issues and maintains optimal performance over time.
Professional Installation vs DIY Considerations
Determining whether to pursue self-installation or engage professional electrical services depends on project complexity, electrical experience, and safety requirements. While basic smart light solutions installation can often be accomplished by skilled DIY enthusiasts, more complex home automation setup projects may require licensed electrician involvement.
Professional installation guidance becomes essential when projects involve electrical panel modifications, new circuit installation, or complex three-way switching configurations. Licensed electricians bring expertise in electrical codes, safety requirements, and advanced troubleshooting that ensures compliant and reliable installations.
DIY Installation Suitability Factors
- Basic electrical knowledge and comfort working with household wiring
- Existing neutral wires at switch locations and adequate electrical box space
- Simple single-pole switch replacements without complex wiring modifications
- Time availability for methodical installation and troubleshooting processes
Professional Installation Requirements
Consider professional electrical services for installations requiring new electrical circuits, three-way switch configurations, or when local building codes mandate licensed electrician involvement. Professional installation often includes warranty coverage, code compliance verification, and ongoing support that can provide peace of mind for complex automation projects.
Cost-benefit analysis should consider not only initial installation expenses but also long-term reliability, safety assurance, and potential warranty implications. Professional installation may cost more upfront but can prevent costly repairs and ensure optimal system performance for years to come.
Successfully installing smart home lighting systems transforms daily living through enhanced convenience, energy efficiency, and customisable ambiance control, while the comprehensive planning and proper installation techniques covered in this guide ensure safe and reliable operation. The investment in quality smart light solutions and proper installation methodology pays dividends through reduced energy consumption, increased property value, and improved quality of life for all household members.
Conclusion
Begin your smart lighting journey by assessing your current electrical setup and identifying priority areas for automation, then gradually expand your system using compatible devices and proven installation methods to create a fully integrated smart home environment. Start with frequently used spaces to gain familiarity with the technology before expanding to secondary areas, ensuring each installation builds upon previous experience and maintains consistent performance standards.
Ready to explore smart lighting solutions for your home? Browse our extensive collections of smart switches, dimmers, wall controllers, and gateway hubs to find the perfect components for your automation project, with expert guidance available to support your installation success. Our comprehensive range of lighting control systems ensures compatibility across different protocols and manufacturers, enabling you to create a cohesive smart home automation installation that grows with your needs and preferences.