In short: There are three ways to make blinds and curtains smart. Fit an in-wall module to a mains-powered motor, clip a battery driver onto the blind or curtain you already have, or link a radio-controlled motor through a gateway. Which one suits you depends on what is at the window now.
Who this guide is for
- You have motorised blinds, shutters or an awning on a wall switch and want them in your smart home.
- You have ordinary blinds or curtains and want to automate them without rewiring.
- You're an installer choosing the right controller for a motor.
Which route suits your blinds?
Start with what you have. The motor, and how it is controlled today, decides the route.
1. In-wall module on a wired motor
- For motors that already run from a wall switch
- The module fits behind the switch or at the motor
- Knows the position, so you can ask for 40% open
- The wall switch keeps working
- Needs mains wiring by a competent person
2. Battery retrofit driver
- For manual roller blinds and curtains
- Clips to the rail, pole or bead chain
- No wiring, rechargeable battery
- Fitted in minutes, moves with you
- Slower and less powerful than a built-in motor
3. Radio motor through a gateway
- For motors supplied with their own handheld remote
- A gateway sends the same radio commands
- Nothing to change at the window
- Often one-way, so position is estimated
- Depends on the motor's radio protocol
Route 1: an in-wall module on a mains motor
Most electric roller blinds, shutters and awnings have a tubular motor: a long, thin motor hidden inside the tube the blind rolls onto. The common type runs on 230 V mains and is controlled by an up/down wall switch.
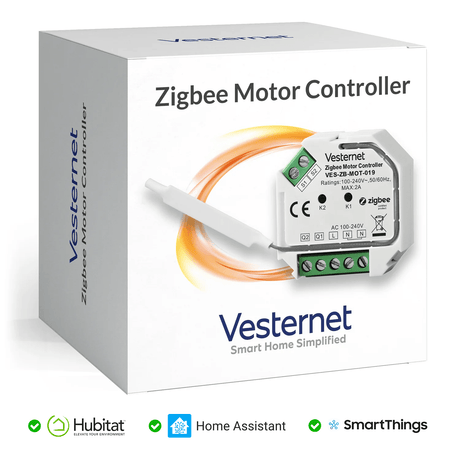
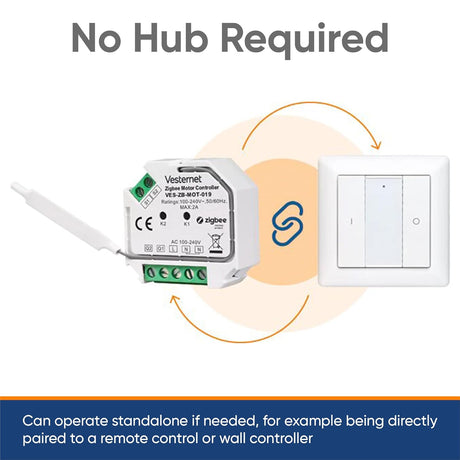
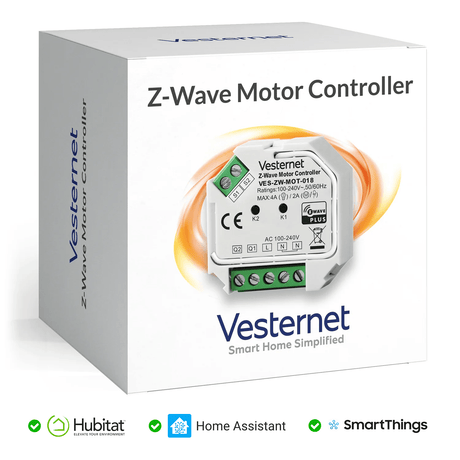
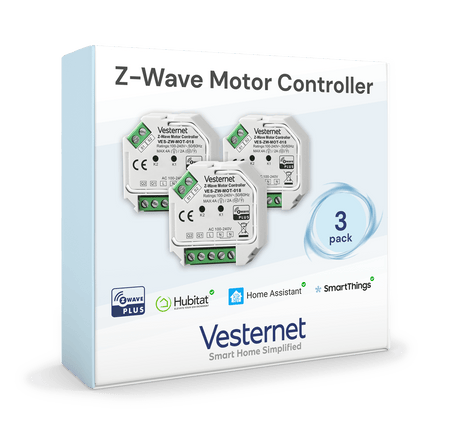
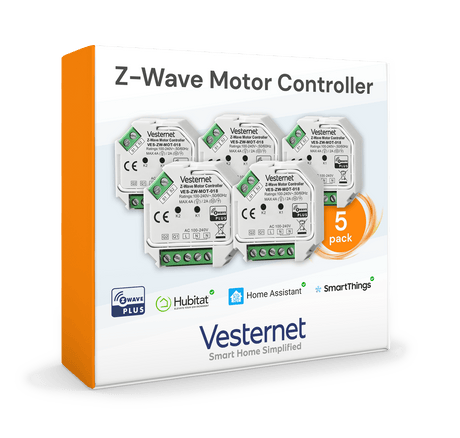
A shutter module (also called a roller shutter or motor controller) takes the place of that switch in the circuit. It powers the motor up or down when told to by your controller, an automation or the wall switch, which now connects to the module as an input. Modules are available for Z-Wave, Zigbee and Matter, and as complete wall switches with the module built in.

Electric blind motor wiring: the four wires
A typical mains tubular motor has four wires. Some double insulated motors have three, with no earth wire. Understanding them tells you whether a module will suit your motor. The diagram shows the idea. It is not a wiring instruction: always follow the diagrams supplied with your motor and your module.
| Motor wire | Usual colour | What it does |
|---|---|---|
| Direction 1 | Brown | Live on this wire runs the motor one way |
| Direction 2 | Black | Live on this wire runs it the other way |
| Neutral | Blue | The return path, shared by both directions |
| Earth (where fitted) | Green and yellow | Safety connection to the motor body |
Which direction wire is "up" depends on which end of the tube the motor is fitted, so it is found by testing. Many modules let you swap the two outputs in their settings if the blind runs the wrong way.
Points to check before choosing a module:
- A neutral is needed at the module. If the module goes behind the wall switch, there must be a neutral in that back box. If there is not, the module can often go near the motor instead.
- One motor per module. Standard motors should not be wired together on one output. Use one module for each motor and group them in your controller.
- The motor's own limits. The motor stops itself at the top and bottom using built-in limit switches. These are set on the motor when the blind is installed, and the module relies on them.
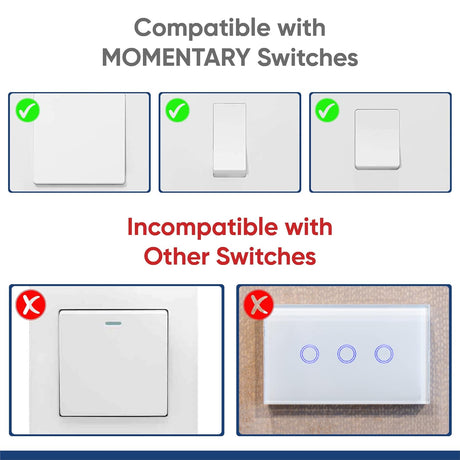
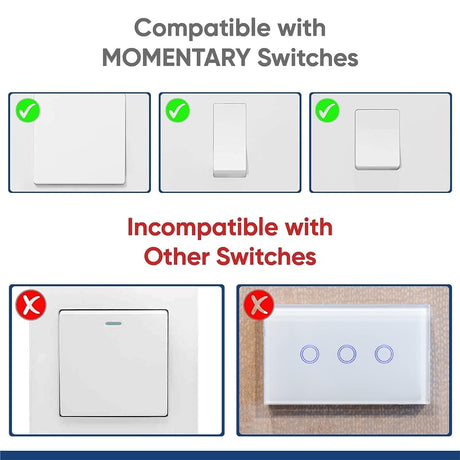
- The wall switch. A momentary (push and release) up/down switch works best. Most modules can be set for latching switches too.
- Motors with a radio receiver inside. These usually have only live, neutral and earth, and expect power all the time. A shutter module is not the right tool. See route 3.
Safety. Blind and shutter motors run on mains voltage. Wiring must be done by a competent person, with the circuit isolated, and must comply with local regulations. If you are not sure, use a qualified electrician.
Calibration: teaching the module where the blind is
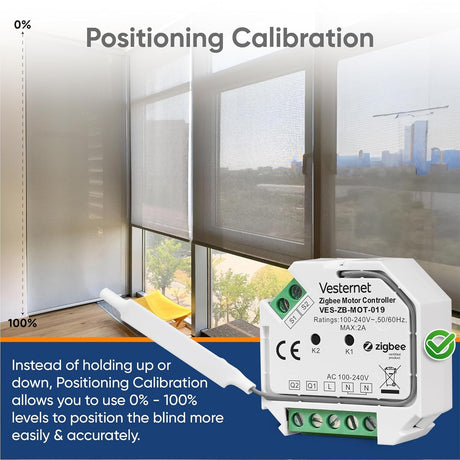
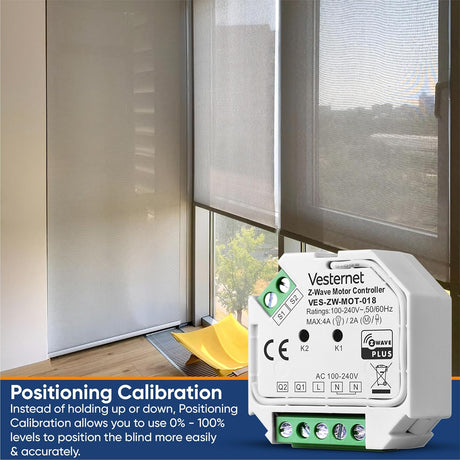
Out of the box, a module only knows "up", "down" and "stop". Calibration teaches it how long the blind takes to travel. The module runs the blind fully up, fully down and up again, timing each movement between the motor's limit switches. Some also measure the motor's power to detect when it stops.
After that you can set any position from 0% to 100%, and your controller shows where the blind is. Calibration is started from your controller or with a button on the module. Run it again if you ever change the motor's limits.
Venetian blinds and slat tilt
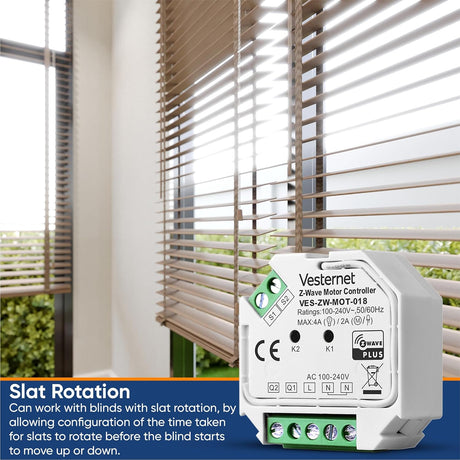
External venetian blinds use one motor to both raise the blind and tilt the slats. The first short burst of movement turns the slats, and after that the blind travels. Modules with a venetian mode handle this by learning the slat turning time, usually a second or two. They then give you two controls: one for height and one for tilt. That lets an automation close the slats against the sun without lowering the blind any further.
Look for "venetian" or "slat" control in the module's features if you need it, and check your controller shows the tilt control.
Low-voltage DC motors
Curtain tracks, projector screens, window openers and some internal blinds use a 12 V or 24 V DC motor with two wires. It reverses when the polarity of those two wires is swapped. A mains shutter module cannot do this and must never be connected to one. Use a DC motor controller made for the job. It fits between the motor's power supply and the motor, and gives the same up, down, stop and position control.
Route 2: battery retrofit drivers
If the blind or curtain is manual, a retrofit driver adds a motor without replacing anything.
- Curtain drivers hang on the curtain track or pole and pull the leading edge of the curtain along. There are different versions for tracks and for poles, so check which you have. A pair of curtains that meet in the middle needs two drivers.
- Roller blind drivers fix to the wall beside the window and turn the blind's bead chain for you. Fit and tension the chain as the driver's instructions say, and follow the child safety instructions that came with the blind.
Both run on a rechargeable battery, or can be left plugged into a USB charger. They join your smart home like any other device, most often over Zigbee, and can be set to stop at any position.
They are a good fit for rented homes and for a first try at automating a window. Check the weight and width limits on the product page, expect some motor noise, and make sure the blind or curtain runs freely by hand first. A stiff curtain will stall a small motor.
Route 3: radio-controlled motors through a gateway
Many blinds are sold with a handheld radio remote. The motor has a receiver built in, and the remote usually works at 433 MHz using the maker's own system (Somfy RTS is a well-known example). These do not speak Z-Wave or Zigbee, so your controller cannot talk to them directly.
A radio gateway (a transceiver) bridges the gap. It connects to your controller and transmits the same commands the handheld remote would. You teach the motor to accept the gateway as an extra remote, and the original remote keeps working.
- Check the protocol first. A gateway only works with the radio systems it supports. Confirm your motor's system is on the list, and that the gateway works with your controller.
- Most are one-way. The gateway sends "up", "down" or "stop" but the motor does not report back. Your controller estimates the position from timing, and cannot know if someone used the handheld remote.
- Some brands have their own hub. If the motor maker offers a hub or app, check whether your controller can link to it.
If the motor also has wired switch inputs, a module wired to those inputs (route 1) is usually more dependable than radio.
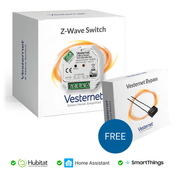
 In-wall shutter moduleFits behind the wall switch or at the motor
 Shutter wall switchUp and down buttons with the module built in
 Curtain driverHangs on the track or pole. No wiring
 Roller blind driverTurns the bead chain of a manual blind
 Radio gatewaySends commands to motors with their own remote
 Blind remoteUp, stop and down from the sofa
Automation ideas for blinds and curtains
Once a blind reports its position, it can react to the day without being asked. These are the automations people keep.
| Trigger | What the blinds do | Why |
|---|---|---|
| Sunrise and sunset | Open in the morning, close at dusk | Follows the seasons with no schedule to change |
| A set time | Bedroom blinds open slowly on weekdays | A gentler start than an alarm |
| Room temperature or bright sun | Lower to 30% on the sunny side | Keeps rooms and conservatories cooler in summer |
| Cold evenings | Close when the heating comes on | Helps keep the heat in |
| Lights on after dark | Close the blinds in that room | Privacy without thinking about it |
| Away mode | Open and close at normal times | The house looks lived in |
| Film scene | Close, with the lights dimmed | One button sets the room |
| Window opened | Hold the blind where it is | Avoids lowering a blind into an open window |
A temperature or light sensor in the room makes the sun and heat rules far more accurate than a schedule. See our Sensors guide. For awnings, treat wind as a safety matter: use the wind protection made for the awning, and do not rely on a home automation rule alone.
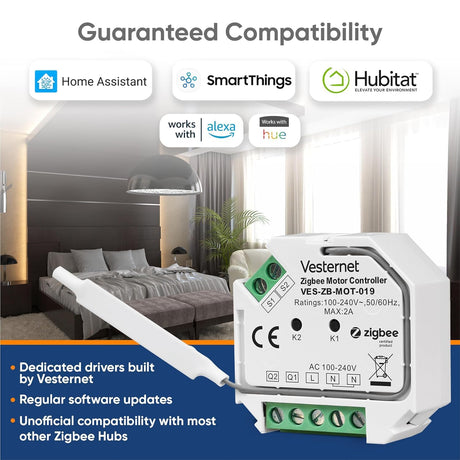
Hubitat, Homey Pro, Home Assistant, Fibaro Home Center and the Aeotec Smart Home Hub (SmartThings) all support blind and shutter devices. Support for position, tilt and calibration differs between them, so check compatibility for the exact module.
Keep a manual control
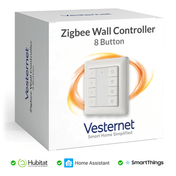
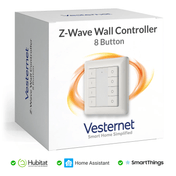
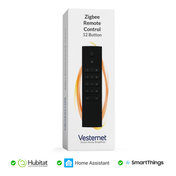
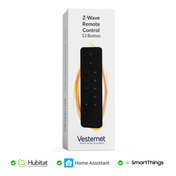
Automations are for the routine. People still want a button. With a wired module the wall switch carries on working. For retrofit drivers and radio motors, add a battery wall controller or remote beside the window and set its buttons to open, close and stop. Our remotes and wall controllers guide explains how.
What you'll need
 Motor controllersShutter modules and retrofit drivers
 RemotesA button beside the window
 SensorsTemperature and light for sun rules
 ControllersTo run the automations
- Motor and shutter controllers, including retrofit curtain and blind drivers
- Shutter wall switches and motor controls
- Gateways for radio-controlled motors
- A smart home controller